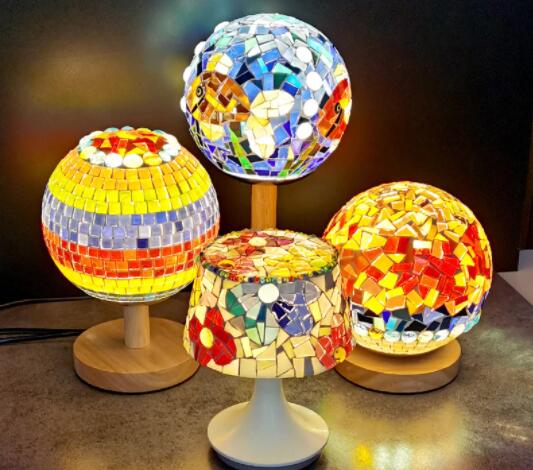
Stained glass nightlight, also named as tiffany night lights, is made through 100 percent of the handcrafted process.
It regards as a piece of artwork and a light combo to spice up a room’s interior.
Making it by yourself at home is not a daunting task. This post tells about the steps of how to make a stained glass night light.
Let’s get started!
Step 1: Cut The Glass
Begin by cutting a piece of glass to make the mosaic base.
The clear glass cutter can be used to cut and break the glass. This will leave a flat surface for you to create your mosaic.
Place the circle cutter at the desired radius and center it on the glass.
Before scoring the glass, make sure there aren’t any obstacles.
Stop turning the cutter head when you reach the end of the score.
By removing the excess glass, you only want to square off your circle.
Step 2: Attach the Morton Button
Next, place the Morton safety brake button under the scoreline and then use the running instrument to push down on top.
You should ensure that the running tool is perpendicular to your score.
Step 3: Run Your Score & Rotate the Glass
It would help if you started your score in a corner, so there is less chance of it running to the edge.
Keep pressing down gently but steadily until the score starts to run. Rotate your glass and place the run’s edge on the button.
Next, press down again with the running tool. Continue this process until you reach your scoreline.
You can now score release cuts on the other side of your circle, from the edge of your glass nearly to the circle.
After removing the glass base from the table, do this on all four sides.
Now it’s time for the grinder to soften the edges of the glass.
Step 4: Use A Glass Grinder
Use a glass grinder to grind the glass with water. If necessary, remove any sharp edges and shape the glass by grinding at an angle.
You can ask a local stained-glass shop for help if you are unsure. Wear safety glasses when grinding to prevent glass fragments from flying at you.
Use a splash guard to dry the glass.
Step 5: Apply Adhesive
Then, cut a piece of no day’s mosaic adhesive to fit the dimensions of the glass base.
After filling the glass substrate, you can either cut it in a random pattern or nip some glass pieces.
Once you’re done filling the glass substrate, you can cover it with no day’s mosaic adhesive. You’ll still be able to heat it.
Step 6: Heat the Mosaic
The no-days mosaic adhesive should be applied to a heatproof surface.
Use a heat gun to heat the mosaic at 8-10 inches from the heat source. This will prevent it from getting blown away by hot air.
Some mosaic pieces may shift as the adhesive liquefies. The mosaic is still hot, so you can use your tweezers for nipping the pieces in place.
You can add additional pieces by heating them until they are firmly attached.
Once the mosaic has cooled, you can assemble your grouting station.
Step 7: Apply Grout and Water
Grab grout, water, and gloves. Once your mosaic is cool, you can grout it. Use very little water to mix unsanded grout.
To get between tiles, rub grout on the mosaic surface.
To remove grout stuck to the mosaic’s edges, pull it along the edges and use a damp sponge to wipe it across.
Step 8: Repeat Step 7
Allow the mosaic to rest for 10 minutes, repeating each step—finally, buff with a dry towel or rag to eliminate any haze.
You can wait another 10 minutes before attaching the nightlight clip to your mosaic’s back.
Step 9: Attach Your Clip
Place a short length of mosaic adhesive on the backside of your night light, where you will attach the clip.
Turn the heat gun on, and use tweezers to secure the clip to the heatproof surface.
To ensure a strong bond, heat the glass base for a long time.
Don’t worry if your mosaic pieces fall out of the grout. The adhesive should keep them in place.
Step 10: Attach The Nightlight & Plug To Turn It On
Instead, heat your mosaic to cool it down. Next, check that the clip is securely attached if it comes loose.
The next step is to heat the glass enough to melt any adhesive.
Next, attach the night light hardware securely. Plug it in and turn it on.